And now it looks like this!!!

Wowser! I am so please with the result. The key is, of course, the A-MAZING fabric. It's a cotton canvas from Fabric Rehab (again!! - they are fast becoming my absolute favourite). You can find it here. Unlike that stretchy jersey that I tried to make a dress out of a few weeks back, I absolutely nailed the fabric choice here. It looks stunning, it's comfy to sit on and I'm pretty sure it will be hard wearing.
So, how did I achieve this transformation? Firstly, it was super easy, so I shouldn't gloat too much. I based it on the step by step instructions in this blog from Stickleberry (thank you!), but I changed it up just a bit so that I could use a plain fabric on the back. You see, my theory is that this project needs an amazing fabric (otherwise you might as well just buy a new cover from IKEA). But amazing fabric is expensive. Sooooo, I wanted to use the patterned canvas for the front, and then finish the back with plain cotton. That cut the cost of the fabric by about a third, so it was well worth doing. BUT, there are a few important measurements to keep in mind if you want to do the same. I'll highlight them below...
I didn't take any photos of the process as I went along, so I've drawn seem diagrams instead. This was a really fun to do, so I might do it for more of my blog posts in the future. Let me know if you like it -or if you hate it I suppose. But don't be too mean!
Step 1 : Measure your existing cushion and cut out your fabric

You should also allow enough plain fabric for there to be an overlap once your cover is finished.
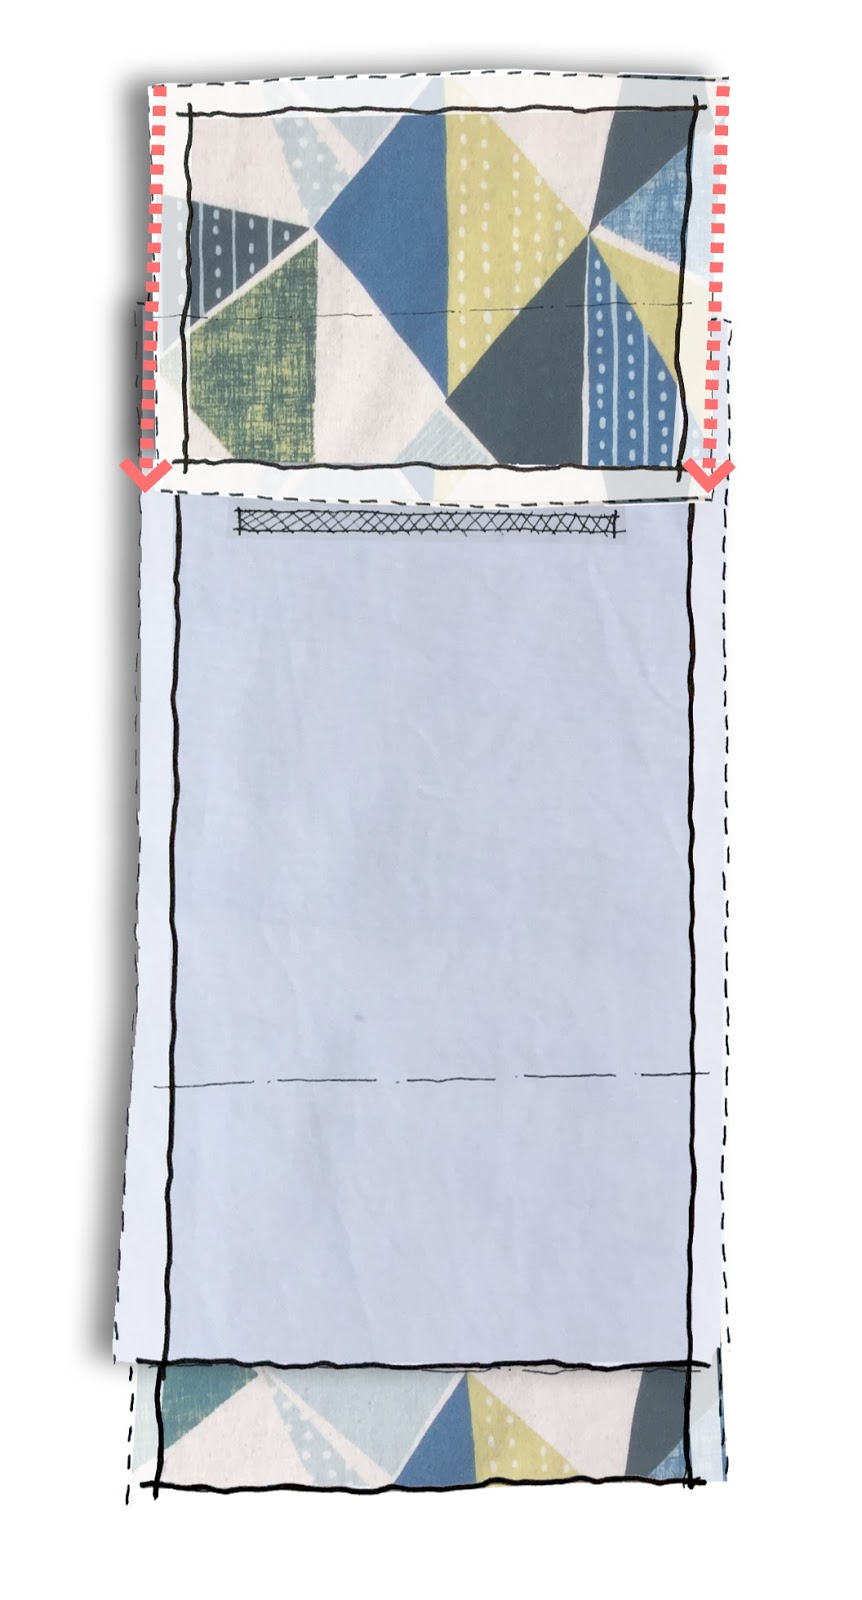
Step 2: Sew fabric together

This step is easy - I just had to sew the two ends of the fabric together! That's it.
Step 3 : Put cushion on top of fabric

This is easy too. I laid the existing cushion on top of the fabric, with the right side of the fabric and the back of the cushion both was facing up towards me. The important thing here was to get everything lined up right so that the fabric would wrap around far enough at the top and the bottom of the cushion.
Step 4 : Wrap fabric around cushion

So now I could wrap the fabric around the cushion. I tried to make it as tight and even as possible. I then pinned the layers together from the bottom fold to the point where the two fabrics overlapped.
Step 5 : Velcro

Next, I took a piece of velcro and pinned it in place on the right side of the fabric - making sure that it will be able to attach to the corresponding velcro on the existing chair.
Step 6 : Remove cushion and sew
That's almost all there was to it. The next step was to remove the cushion and stitch up the part that I had pinned together (i.e. from the bottom to the overlap). Then I pinned together the top bits and sewed them together.
Step 7 : 'Clip and sew' the corners

So that the cover would sit neatly around the curved corners of the existing cushion, I stitched diagonal lines across each corner, and then clipped them just outside this line. Apparently shearing scissors are the best tool for this job, but I don't have any. So I cut a straight line and then zig zag stitched along it with the overlocker foot.