Holidays. Time for some rest, relaxation and ... catching up on my blog! Finally I've got a chance to show you a project I finished quite a while ago!
One of the best things about the house that we moved into almost a year ago now is that it hasn't needed anything big or expensive doing. No new kitchen, bathroom, boiler... We should probably replace the windows, but we can live with them for now. And that's great, because we haven't got any money. The problem is that everything's so UGLY! But it's amazing what a coat of white paint and a bit of bright fabric can do!
Case in point : Clinging on for dear life to the back of the house is a 'conservatory'. It's not, nor has it ever been the uPVC dream of suburban grandparents everywhere. It's more akin to a rotting green house really. But it's a useful space for the washing machine and lawn mower and we'd be lost without it. It is however through this room that people have to pass to get to my pride and joy (the garden). So, once the garden was done up it was only fitting to improve this room as much as possible too. A coat of white paint over the rotting timber frame and some masonry paint over the (single skin) of brickwork and the structure was looking better already. We then raided IKEA for some cheap storage for the garden tools, toys and the other random junk that always finds its way into rooms like this. One of the units we bought was the xxX, which can be used as a seat as well - it just needs a cushion.
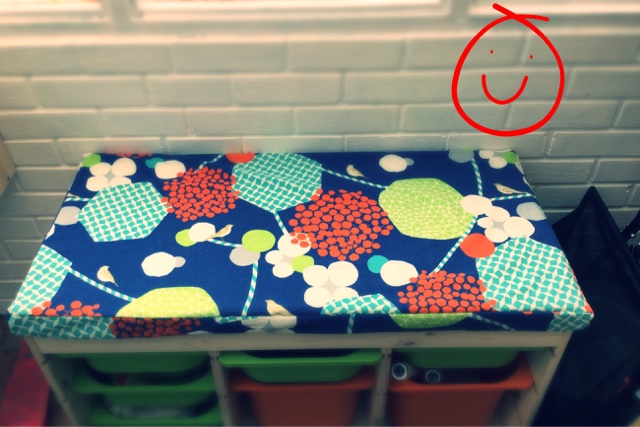
And with that, we finally we reach the sewing!!! I made this cushion cover.
I pretty much followed May Martin's 'Sewing Bible' instructions for box cushion covers, but I omitted the piping. Is it just me who hates piping on cushions? It's only good for catching crumbs!! The fabric is this beaut from Fabric Rehab. I got the foam for inside the cover is from here. They can cut you a piece of foam to whatever size you need.
To make the cushion I cut out the following pieces from my fabric:
One piece the size of the top of the foam and one the size of the bottom (plus 1.5cm all the way around)
One piece the size of the front side of the foam, one piece the size of the left side and one piece the size of the right hand side - each with an extra 1.5cm all the way around.
Two pieces the same length as the back of the foam, but half the depth, plus 1cm on one of the long edges and 1.5 cm around the other edges.
I took the two long pieces that I cut half the depth of the foam and pinned them right sides together. I then marked the length of the zip along the pinned edge, starting in the centre and sewed the pieces together from the outside edges to the marks showing the ends of the zip using a 1cm seam allowance.
Next, I inserted the zip into the gap, one cm from the edge of each piece. Once that was done, I took the piece with the zip in and pinned it, right sides together, to the other pieces that would eventually run around the edge of the cushion. I sewed them together with 1.5cm seams to make a band that runs around the whole cushion.
The only tricky bit came next. I took the two remaining pieces of fabric (the bigguns that would eventually become the top and bottom of the cushion) and pinned them, right sides together to the continuous band. The important thing is to catch all three seams at each corner. Trim each corner once you're done to remove as much bulk as possible.
If you try this, make sure that you have the zip a little bit open at this point. 0therwise you'll end up with it on the wrong side of your cover and you won't be able to open it at all without some serious effort. You need to be able to open it in order to turn the cover so that right sides face out. But once that's done, all you have to do is stuff the foam in. And it's DONE!
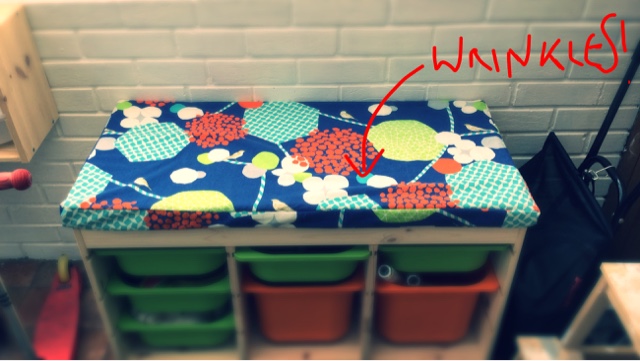
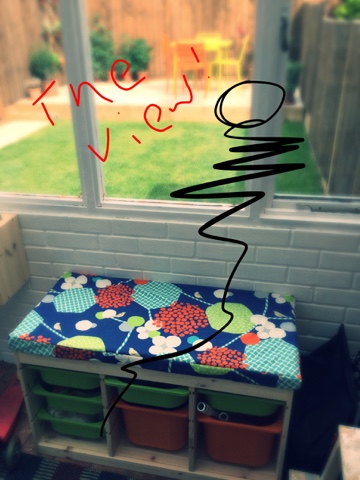
Here's some more pictures. You'll see that it's a bit wrinkled because it's slightly too big. I tried sewing the seams a bit tighter, but it's still baggy. But it's not too bad, so I'm going to leave it for now and just enjoy the view of my garden.
.... And here's one I made earlier... Before I started this blog, one of the first projects I completed was a seat cover for our bay window, which I thought I would share a couple of pictures of too.


